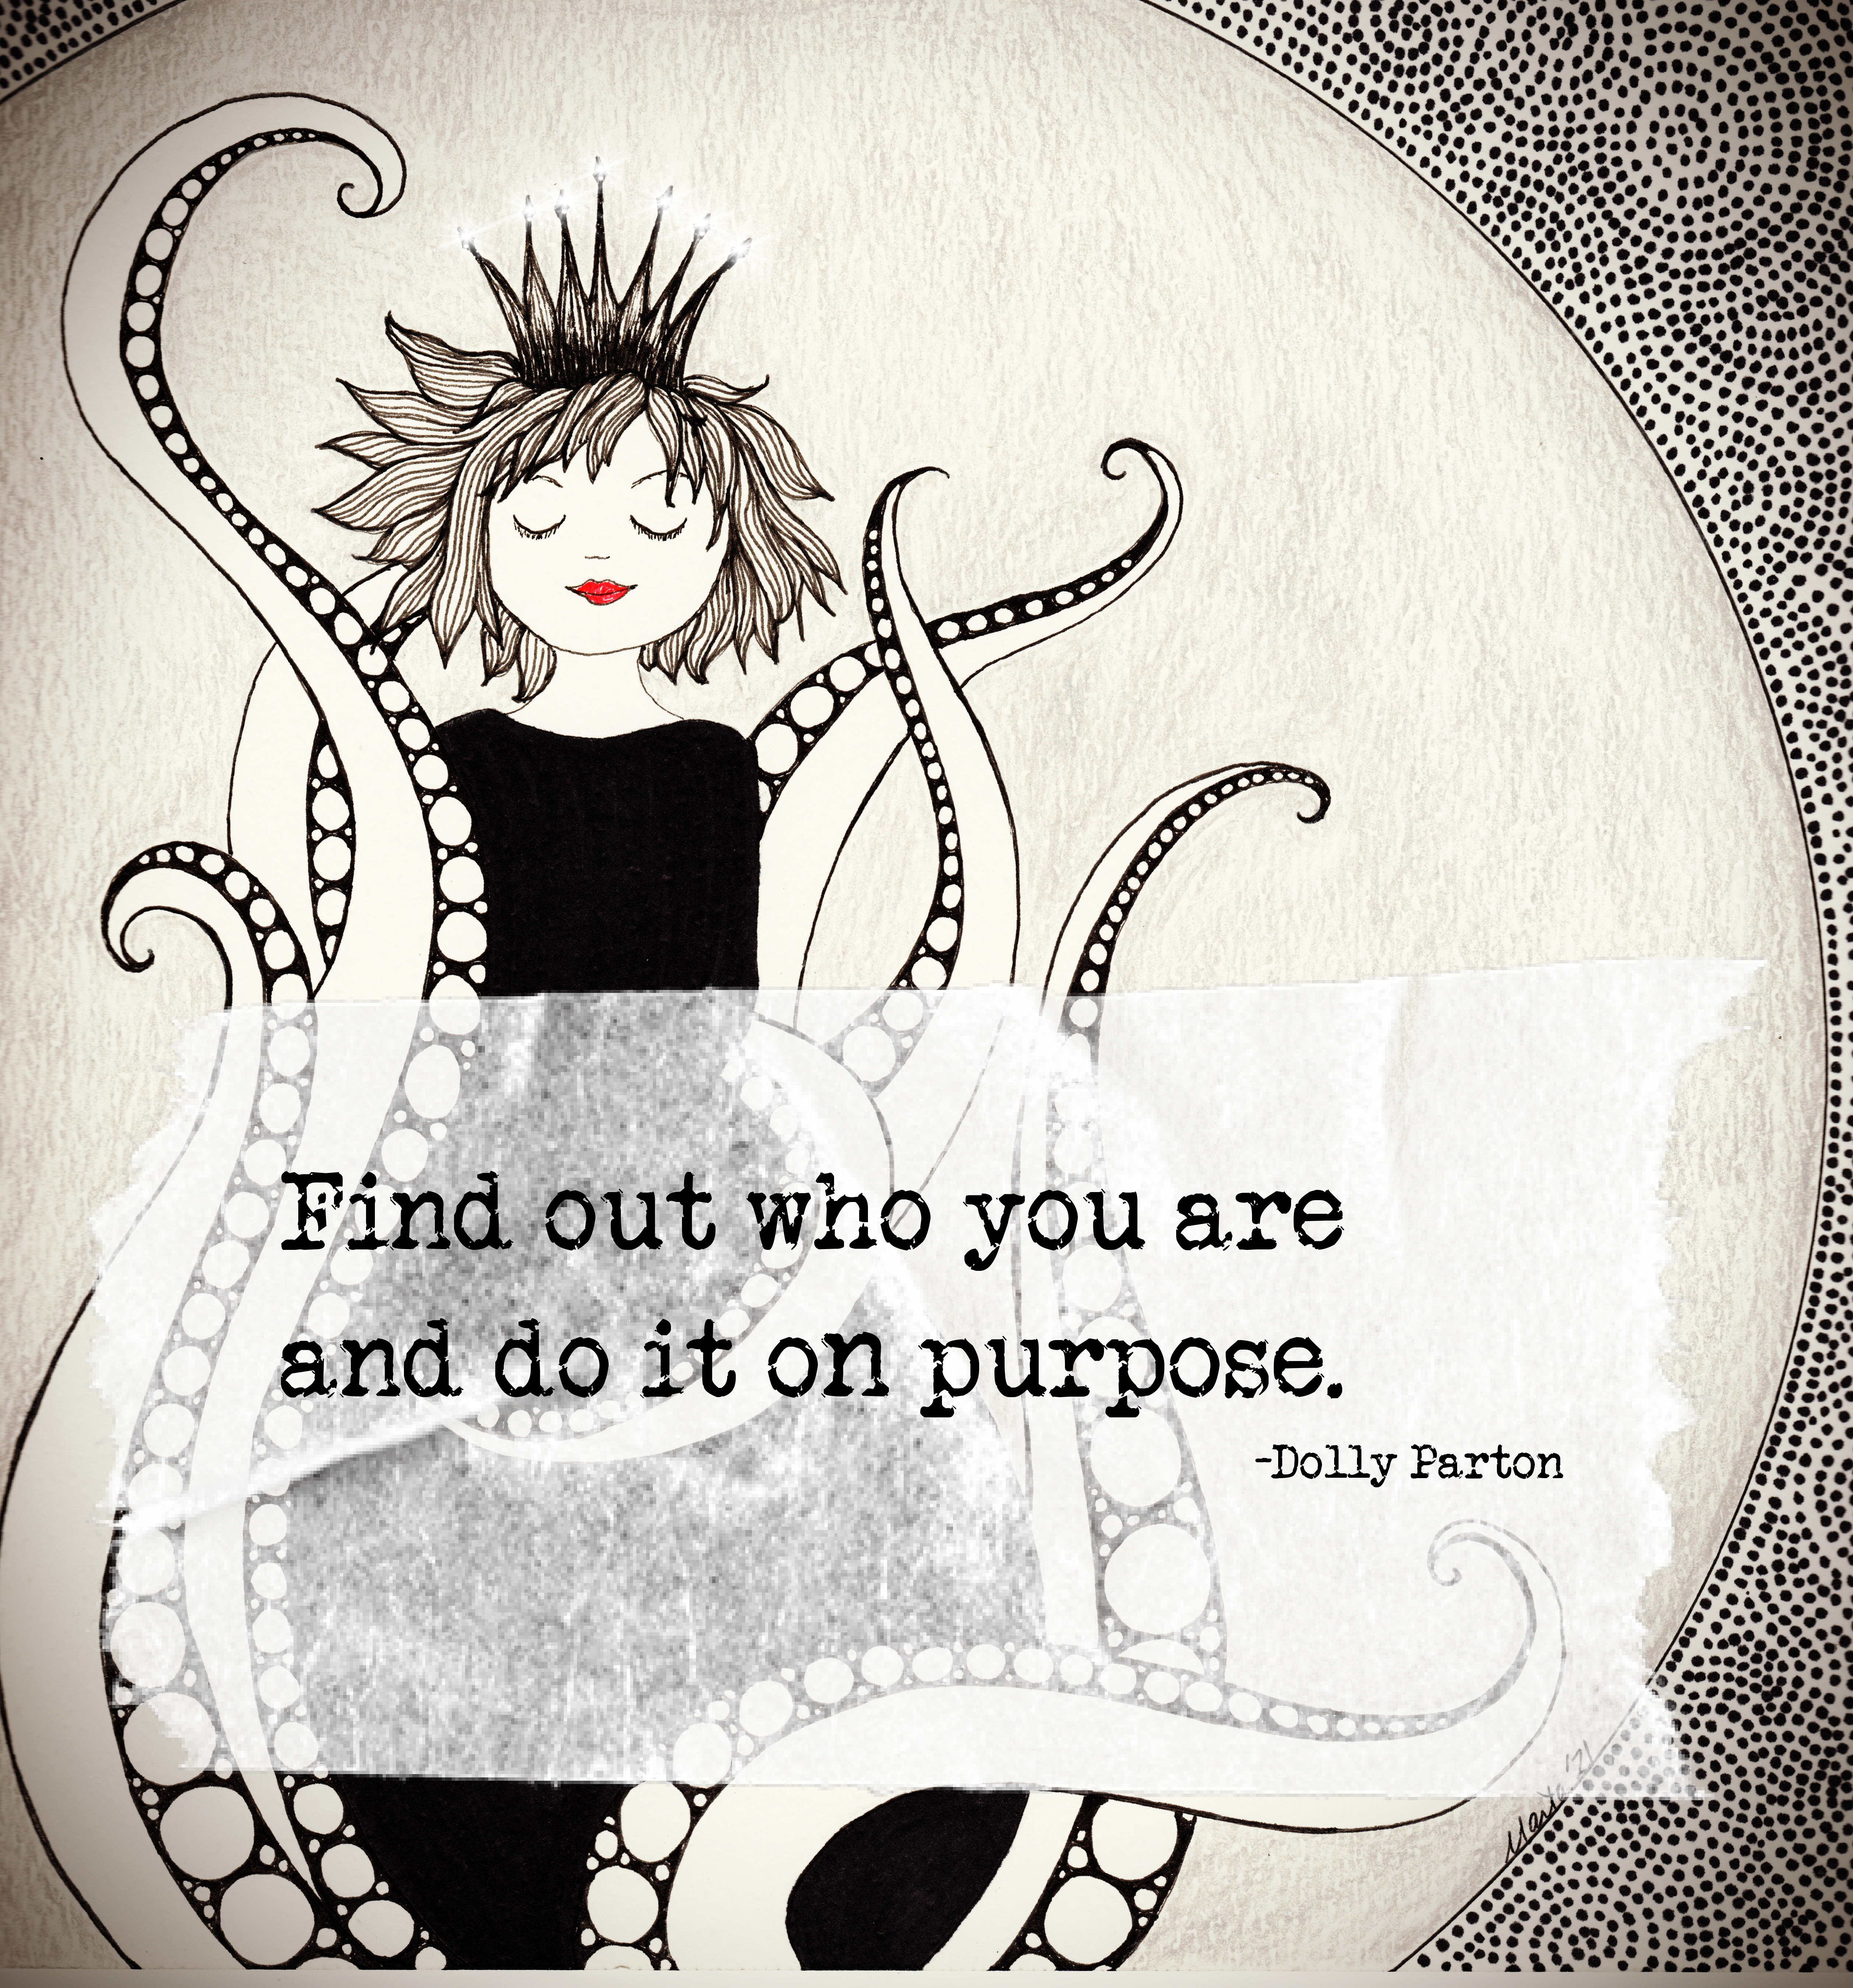
Moving House
I've kind of fallen down on my 100 paintings in 100 days. A few days in, I discovered that I'd have to move in two months, and as the days got nearer, the stress and time constraints kept me from painting and even more, from posting.
Now, the 100 days is not actually over yet, so who knows, maybe I will manage to put it all together. I mean, I did do these little houses and charms, and perhaps if I count some of the other things I did, not just paintings, I might not be as far behind as I thought... but my 100 days is not moving smoothly.
Speaking of moving, my move is upon me. Today is the day when we hit the road, so perhaps in a few days when the travel is over and the dust has settled and we are ensconced in our Florida home with the warmer weather, I will come back and show you the plethora of travel themed sketches, paintings, feltie and paperclay projects I have done while riding in the car and trying to keep my kids entertained. I packed a bag with all the things I might need to do so. Wish me luck.
I'm going to take this as a lesson not to take things so seriously, to lighten up and enjoy the ride, even if the ride is bumpy. Perhaps I could have kept up with my painting if I had just remembered to breathe, and to do the work I needed to in the time I had, and then to take a break and do my painting when I needed to.
Oh yeah, I'm also doing nanowrimo.org, even though the first week will be rough in the writing department. I can catch up, I know. I have always hit my word count, every time I've done it, even if I haven't written a successful novel.
Ah ha. I will take the lessons of my 100 in 100 kerfuffle. Do what I need to do. Take some time to breathe and focus on what I WANT to do. The kids can't talk the ENTIRE trip, right? There will be some time to get some brain space to write, right? Right?
Oh well, I'll just go with the flow. Let the road rise to meet my feet, er, pen. Ok, enough mixed metaphors. I have to pack the last of the bags in the car and take off.
See ya on the flip side.
Showing posts with label altar. Show all posts
Saturday, November 03, 2012
Tuesday, May 01, 2012
DIY Glitter Meditation Jars
Ivy and her meditation jar
I finally tried out those meditation jars I've been seeing around pinterest, and they are cooler in person than they are in photos. There's something about the swirling water and bits of sparkle that catches even my attention, and I just want to sit and watch it glitter.
I don't know how well it is going to help any of us meditate or calm down, but that is still to be discovered.
Here we see glitter, glitter glue, two cups of water total, and a jar and lid.
But wait. My before photo was optimistic. This will be the mistakes portion of the post.
Mistake 1
My plastic jar had too much give and was not water proof. Please double check to make sure that your jar is water tight, because there is a lot of shaking and moving and holding with this project.
Mistake 2
Your jars don't need to be that big. Bigger is heavier. Bigger means you have to use a lot of glitter and glue. Smaller is just fine, there's plenty of movement in a smaller jar.
Mistake 3
Not every glitter glue is as effective. I used these little tubes of glitter glue from the toy store, and they did not dissolve very well nor did they give enough body to the water to make the glitter swirl, rather than float on the top. The craft store glue worked immediately, with far less glue. I read one tutorial that said to use 1 Tablespoon glitter glue per cup of water. That worked for the better glue, but not for the other.
Mistake 4
Do not use white glue to give the water the right viscosity. It will immediately work for viscosity, but it will also immediately make the water opaque. There is no purpose in having swirly glitter if you can't see it. I suppose there might be some clear craft glue that would work, but I didn't have any. I read this post (also a fascinating post about teaching the kids meditation) that said to use glycerin and dish soap. That would probably be the best option, but I didn't have any.
In the end, I used three cheapo glitter glues and two half empty craft glitter glue jars from an old project (it probably would have worked fine with just the craft glitter glue). Use warm water to help the glue dissolve and shake shake shake it up. I also used one and a half vials of extra fine glitter. I basically tossed in every glitter glue I could find that I thought would be close to purple, my original color. Well the original color was gold, as you can see from the before photo, but once I added the white glue, I ruined the whole thing and had to toss it out. So I started over with purple.
One might think that using so many different colors would make the glitter muddy, but I actually found that using the blue, purple, red, and opalescent glitter gave the jar a lot more interest than it would have had if it had just been one color.
It looks like the starry sky, actually.
Let's watch it settle.
Red. Purple. Blue.
Flash of opal.
This one takes about three minutes to settle. I read here that if you add more glue, it takes longer. She uses it for time outs, as a tool to help her kids calm down. So if you want a five minute "time out" jar, then you want to get yourself some extra jars of glue so you can fuss with the timing. You can tell from my experience that it could take a bit of experimenting to get it right.
Finish. Are you calm yet?
When my son came home from school, I realized I was going to have to make him one too. I took the lessons I learned and made him another one. The only color glitter glue I had left that hadn't gone into the purple jar was green, and I used the rest of the blue glitter and another vial of green glitter. And then I added some gold glitter for sparkle. The last improvement was in the jar I chose. I realized smaller works, too, so I picked a fancy olive jar. Which I think turned out amazing, even though it settles far faster. I can add more glue later if I want it to go slower.
He thinks it looks like Snape's potions, and asked if it was for his Harry Potter Birthday coming up in the summer. That's a very good idea, although I might use it for divination. Stare into the globe and try to tell the future. I don't have a picture of him because he just isn't as willing to sit and pose as the girl is.
There are a few different things you could do with this project. I like my son's idea for a Harry Potter project, but it could also be adapted to make a snow globe, because essentially, that is what this is. You'd want far less glitter and something pretty to look at inside the jar and some waterproof glue to seal the lid, but it would work.
All in all, this was a very simple project, once you get past the oopsies and it does kind of make me want to go get some more glitter glue and make one for myself. What can I say, I loves sparkly things. And there are times I sure could use some calming down and a focus for meditation.
Labels:
activities,
altar,
cool,
crafts,
CreativeKids,
DIY,
how-to,
kids,
living,
magic,
mindset,
MomCreates,
pinterest,
zen
Thursday, April 19, 2012
Little Lucky Matchbox Charm
matchbox, upholstery scraps, glue, acrylic paint, lucky finding
Ever feel like you need to have a little bit of good luck to hold onto?
This morning I decided to whip myself up a little lucky matchbox charm.
Since carving my little lucky elephant charm, I've been a little obsessed with the little lucky elephant and I've been looking for a way to use it. So I found this old matchbox in a basket and the little thoughts in my head went *ding ding ding*.
I cut out the fabric to size and then glued it on with regular old elmers white glue. I painted the inside of my box green with acrylic paint, then I used some more paint, this time bronze, to stamp the ellie inside. Acrylic paint isn't the ideal medium for stamping, but I managed. It's a little globby around the edges... I probably should have painted it on to the stamp a little more carefully... but I don't mind the handmade aesthetic.
Then I stamped some tiny scallops on the rest of the space and wrote down the word luck, in case the universe missed that this was a LUCKY charm.
And trusting my luck, I went to my beads and bobbles box looking for something to put into the box, just to add another dimension of luck, and there, like a miracle, was a tiny golden dubloon type coin. Someone gave it to me, because they knew I liked to craft, along with a whole bag of old costume jewelry. This little coin was attached to some bigger thing with hot glue. So I pried it out of the decades old hot glue and it was so perfect for my needs... see, the universe is already giving me a little luck.
And thus my little lucky elephant charm box is done. It took about 10 minutes and then I rushed to photograph it. The glue is still wet, if you look at the fabric you can see it. This was an in-the-moment kind of inspiration.
Now that I think about, it's not just about luck. My grandmother collected little lucky elephants, something I recently remembered, and she made sure to tell me that the trunks had to point up so the luck doesn't run out. So in a way, not only is this charm a way to keep luck on my side, but it's also a way to keep my grandma with me.
There's a nice charm for you.
matchbox, upholstery scraps, glue, acrylic paint, lucky finding
Ever feel like you need to have a little bit of good luck to hold onto?
This morning I decided to whip myself up a little lucky matchbox charm.
Since carving my little lucky elephant charm, I've been a little obsessed with the little lucky elephant and I've been looking for a way to use it. So I found this old matchbox in a basket and the little thoughts in my head went *ding ding ding*.
I cut out the fabric to size and then glued it on with regular old elmers white glue. I painted the inside of my box green with acrylic paint, then I used some more paint, this time bronze, to stamp the ellie inside. Acrylic paint isn't the ideal medium for stamping, but I managed. It's a little globby around the edges... I probably should have painted it on to the stamp a little more carefully... but I don't mind the handmade aesthetic.
Then I stamped some tiny scallops on the rest of the space and wrote down the word luck, in case the universe missed that this was a LUCKY charm.
And trusting my luck, I went to my beads and bobbles box looking for something to put into the box, just to add another dimension of luck, and there, like a miracle, was a tiny golden dubloon type coin. Someone gave it to me, because they knew I liked to craft, along with a whole bag of old costume jewelry. This little coin was attached to some bigger thing with hot glue. So I pried it out of the decades old hot glue and it was so perfect for my needs... see, the universe is already giving me a little luck.
And thus my little lucky elephant charm box is done. It took about 10 minutes and then I rushed to photograph it. The glue is still wet, if you look at the fabric you can see it. This was an in-the-moment kind of inspiration.
Now that I think about, it's not just about luck. My grandmother collected little lucky elephants, something I recently remembered, and she made sure to tell me that the trunks had to point up so the luck doesn't run out. So in a way, not only is this charm a way to keep luck on my side, but it's also a way to keep my grandma with me.
There's a nice charm for you.
Labels:
altar,
crafts,
creativity,
magic,
mindset,
mixed media
Wednesday, May 18, 2011
Of Writers and Divas
giclee print, mini brads, ~8.5" high
I've printed out, cut out and assembled my La Diva paper doll. I just wanted to show you how cool she turned out when all put together. I still think she needs a frilly apron, and now a vintage camera, but there wasn't room on the paper when I was drawing. Those "new style" skirts take up a lot of material... fabric and/or paper.
She is far more glam than I will ever be, but I am glad that she was commissioned, because I love her.
I've also put her up for sale in my shop. Finally. I'm trying to get my back log up in there, but there's so much I get overwhelmed. So it's an achievement to put her together, do a photo shoot, edit, and list. And then go and write a post! Geez.
So tell me to stop feel like I'm cheating for putting the same piece up two posts in a row. I already feel guilty for letting my once daily blog slip to once weekly if I'm lucky.
The Writer, Altar Ego, close up of articulated paper doll
giclee, paper, mini brads, 8" tall
And here's a reminder about The Writer. She's up in my shop, too. How exciting. Two new things. And she also serves as a constant reminder to myself that I am working on my novel, however slowly, even if it's just researching the query process.
I also started some polymer clay beads last night, while watching Glee, which I just love. It's an experimental process, but I want a new necklace, so I brought out my clay.
I hope your processes are continuing on. I hope you're not too hard on yourself when you don't get as far as you'd like. I hope you're letting your alter egos out to play sometimes. It's good to play sometimes.
Thursday, May 05, 2011
The Writer/Altar Ego
card stock, pencil, acrylic paint, mini brads
about 8" tall
I made myself a paper doll to remind myself of who I want to be. Who I am. Oh she's me, no doubt. The kids found her when she was still in progress and carried her around, having conversations with her, "Hi mommy. Are you going to drink coffee now?" She has accessories, like her manuscript and her cup of joe. Obviously, she's busy revising. Or she can pick up her laptop and notebook and get some first draft work done. Or, she can take her journal, pens and pencils and do some process work.
Sometimes I feel like my other roles take over the parts of me that I really want to focus on. I mean, it's springtime and the kids are cute and I have jobs to do, but I don't want to lose my focus on the long range goals. So I make little reminders for myself. Right now, she's hanging over my desk, on a piece of black embroidery floss. She's like my little alter ego. Or maybe she's my altar ego. A little altar to that part of me.
Who are the parts of you that you need to be reminded of? Who is the you inside of you that needs to get out more?
Labels:
altar,
art,
CED,
crafts,
creativity,
drawing,
dreams,
fashion,
inspiration,
painting,
play,
Writing
Subscribe to:
Posts (Atom)