there is a way/ Believe
journal
Not really sure what to say about this.
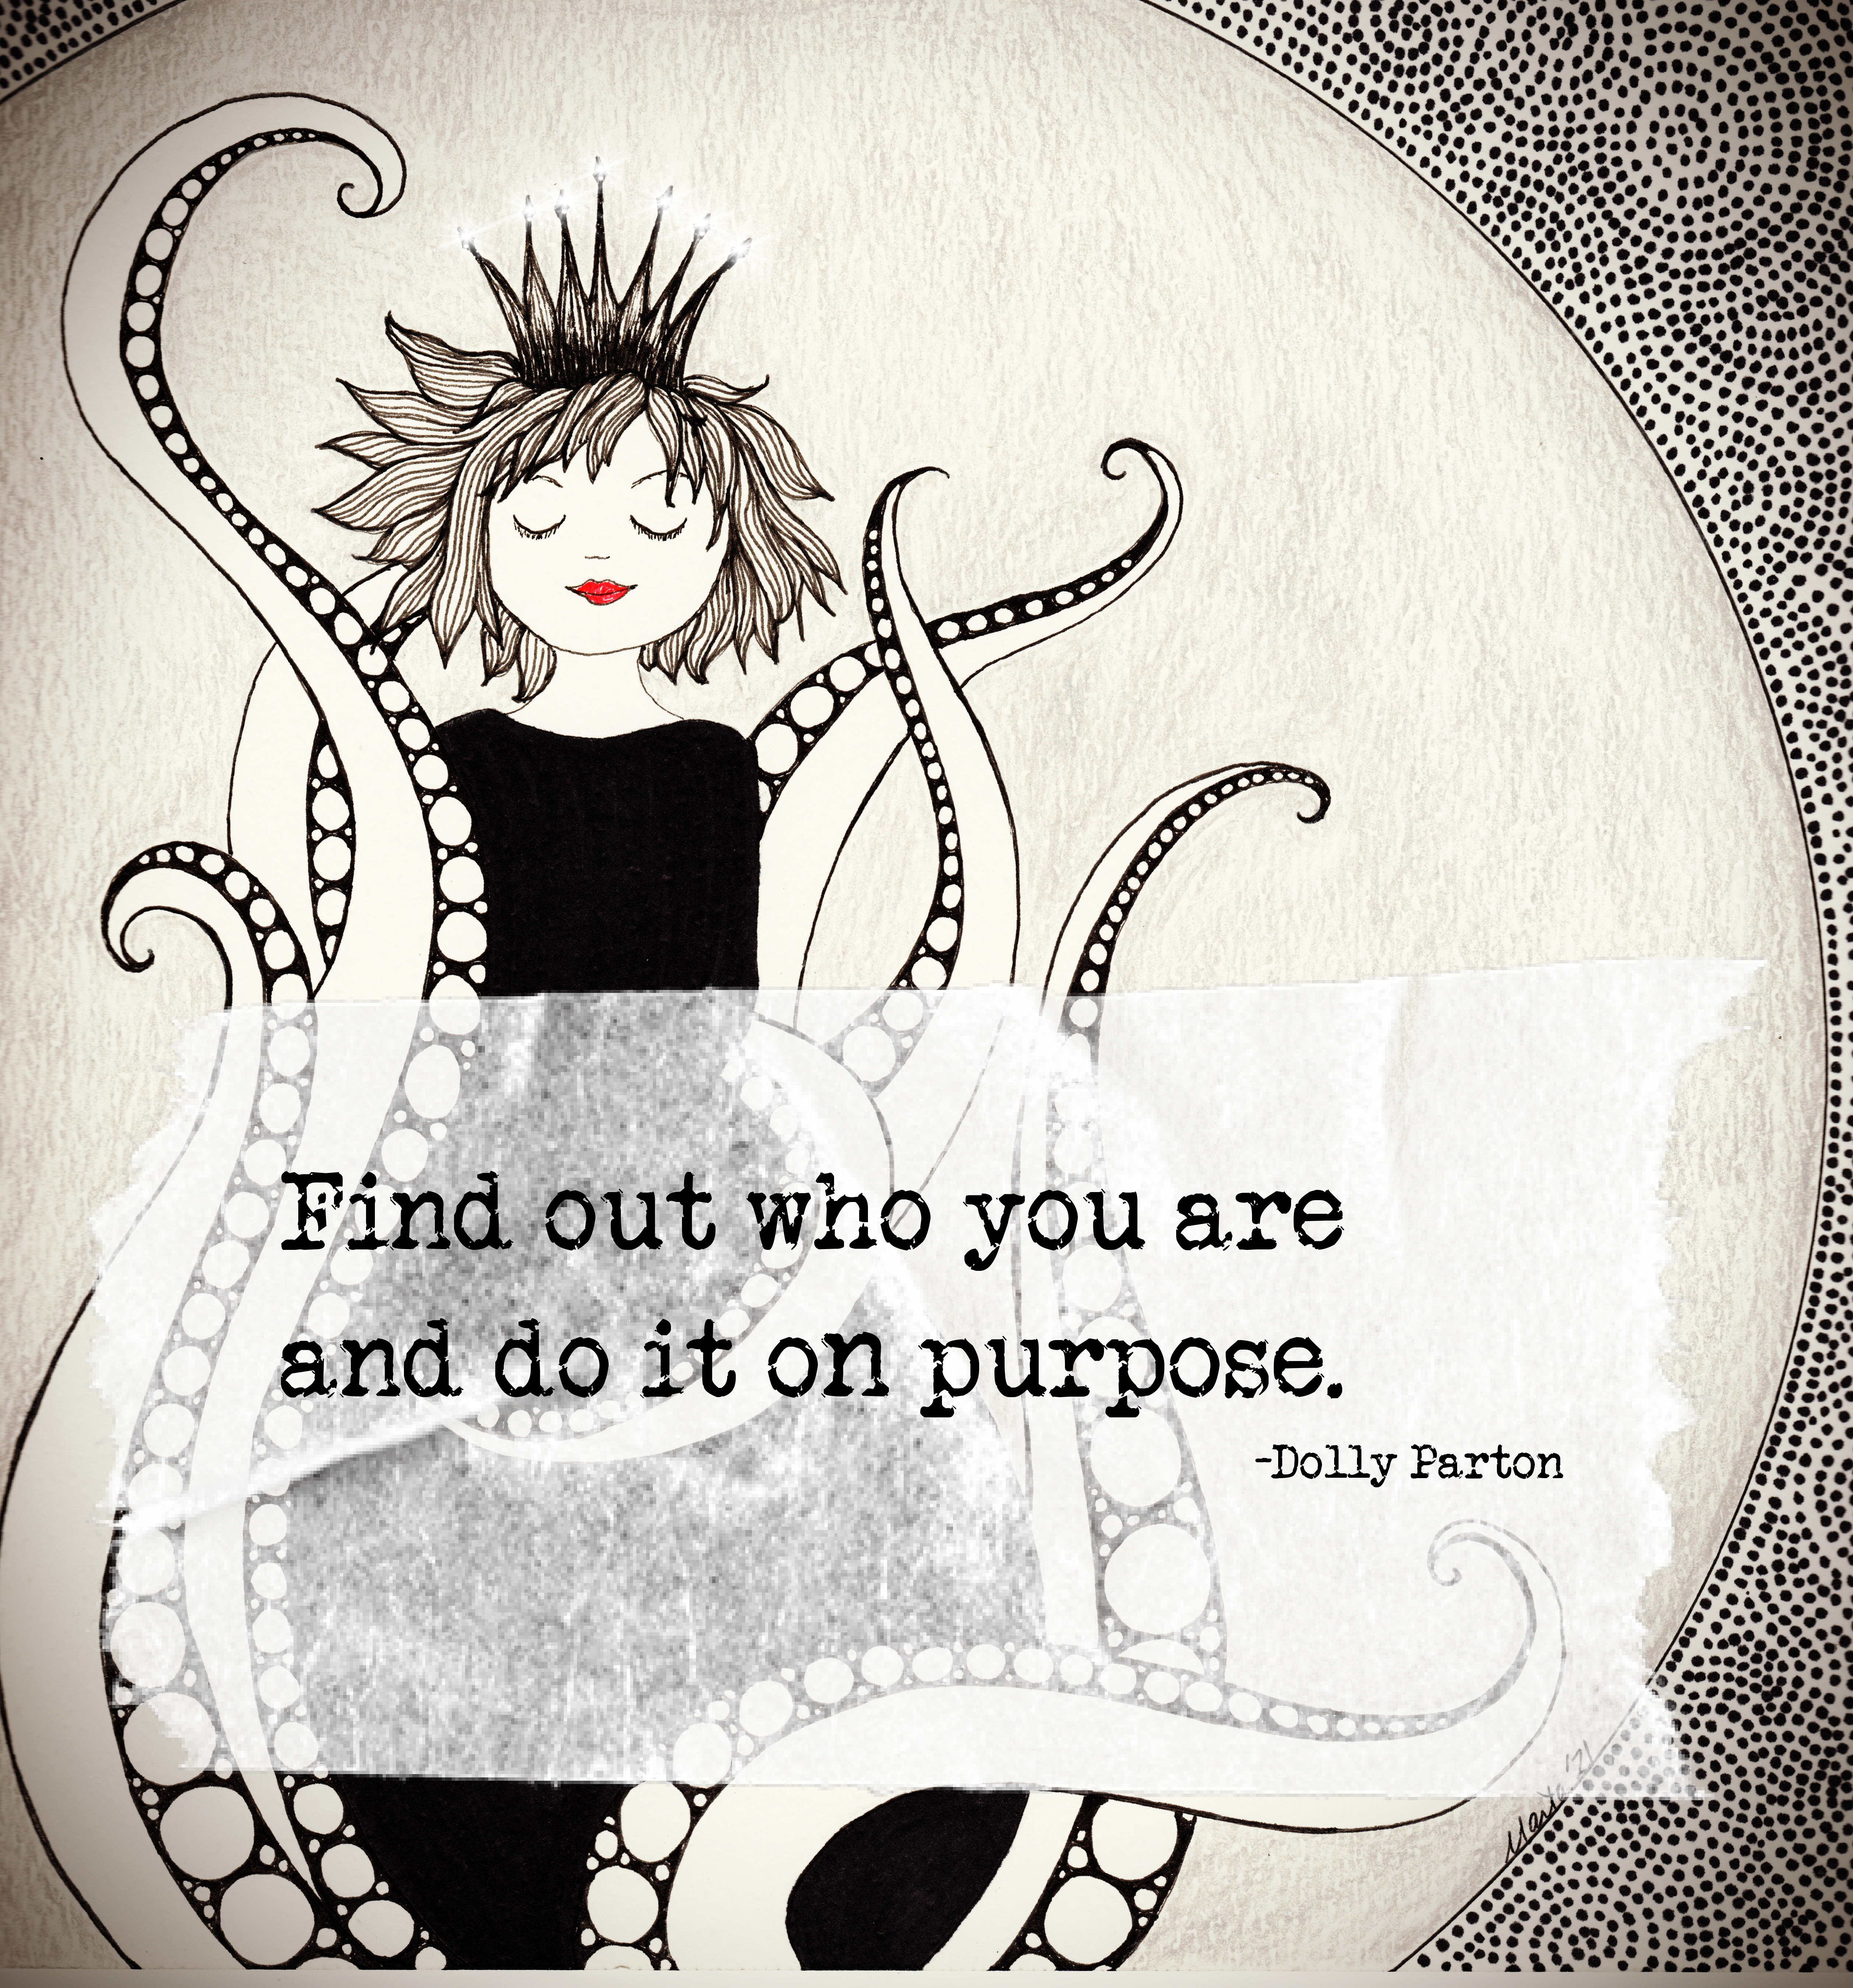
I think it's just something we need to remember when we start to feel like we are stuck.
Never give up. There is always a way. If what you've tried before doesn't work, then try something new. A new angle, a new way at it, a different way to look at your goal.
If there is a way, then you can find it.
And there is a way.
Monday, June 04, 2012
Friday, June 01, 2012
Mango Mint White Sangria, (and how to cube a mango)
Oh it's a gray and chilly Friday morning where I am, and I have to go to work in an hour and a half, and I am seriously not in the mood for a kick-back and relax, have a drink kind of post, but I think I'm going to write one, anyway.
This Memorial Day, it was a beautiful sunny day, quite hot, and the kids were having a play date down the street, and I was in the mood for a nice drink... but I couldn't find where S had hidden the limes for my margarita and he was out and didn't get back to me before I decided to take matters into my own hands and invent a cooling summer drink on the spot.
I opened up the fridge to see what I could find. There was half a bottle of white wine, a little too sweet for my tastes, some fruit that needed to be used up asap, a handful of mint from my potted herb garden and of course, some of my homemade orange liqueur. I only had enough to make one or two glasses, enough for me, but let's see if I can adjust the recipe for a larger portion.
Mango Mint White Sangria
One ripe mango, cut into one inch cubes
One orange, cut into one inch cubes
6 strawberries, cut into one inch pieces
One bottle white wine of choice
One cup mango nectar
1/2 cup orange liqueur (triple sec, cointreau, grand marnier, or homemade)
6 or so sprigs fresh mint, torn into small pieces
Ice
Splash sprite or seltzer (optional)
Fruit for garnish (optional)
Cut fruit and put in a wide mouth jar or pitcher. Toss in mint. Pour in mango nectar, wine and liqueur. Stir. Pour in a glass over ice and add a splash of sprite or seltzer to taste. Garnish with fruit. Voila.
In the interest of full disclosure, I got my mango nectar when the first mango I tried to cut up ended up being too soft to cut, so I squeezed it into the pitcher instead. It turned out to be quite a bit of nectar. I'm sure store bought nectar would be just as good. Or, almost anyway. You could substitute the mango/mango nectar for peach and peach nectar... in fact, I substituted mango for peaches, since all the recipes I found online were for white sangria with peaches, and I didn't have any peaches.
I was a little worried that it would be too sweet, what with the sweet white wine, but perhaps because my liqueur was less sweet than store bought, it turned out fine. If it had been too sweet, I'd have added some lime juice to add a bite. But then, if I'd known where the limes were, I would have been drinking a margarita.
There's one more thing I'd like to share about this, the part that is actually the trickiest in making this drink.
How to cut a mango into cubes
Despite the terrible picture, I'm going to do my best to explain this.
Okay, take a ripe mango. First you have to understand the mango. The pit inside is large and almond shaped and flat, and you want to cut around the pit to get the largest portion of the flesh. To do this you cut the mango into three pieces. The center piece with the pit, and two side pieces that will be rather boat shaped and full of mango flesh.
Hold the mango with the stem end pointing up and look for the widest diameter of the mango. That is where the pit will be. Slice down from the stem end, starting a little bit in front of the stem. If you meet some resistance (the seed) angle your knife out a tiny bit to cut around it and then slice all the way through. Do this on both sides of the stem and you will have your two mango boats.
For each mango boat, slice a grid into the flesh, without cutting all the way through the skin. Take your grid marked boat and using your fingers, turn the boat inside out. The flesh will pop up in cubes, which you then can easily slice off of the skin and put into your sangria.
You are now left with the pit, which is ringed with mango flesh and skin. You could peel the skin and cute the flesh off the pit, chopping it up and putting it into you drink, but I always just peel the skin and the eat it all, right off the pit. Yum yum.
I am not sure if this explanation of mango cutting is clear enough, so if you need a visual tutorial, leave a comment and I will go back in and add pictures. I was taught by a Caribbean friend. Once you learn it, it makes mangoes much easier to eat and cook with. Well much less messy anyway.
I hope you take the opportunity this weekend to enjoy yourself and relax, try something tasty. Add a new flavor and see how it works for you.
This Memorial Day, it was a beautiful sunny day, quite hot, and the kids were having a play date down the street, and I was in the mood for a nice drink... but I couldn't find where S had hidden the limes for my margarita and he was out and didn't get back to me before I decided to take matters into my own hands and invent a cooling summer drink on the spot.
I opened up the fridge to see what I could find. There was half a bottle of white wine, a little too sweet for my tastes, some fruit that needed to be used up asap, a handful of mint from my potted herb garden and of course, some of my homemade orange liqueur. I only had enough to make one or two glasses, enough for me, but let's see if I can adjust the recipe for a larger portion.
Mango Mint White Sangria
One ripe mango, cut into one inch cubes
One orange, cut into one inch cubes
6 strawberries, cut into one inch pieces
One bottle white wine of choice
One cup mango nectar
1/2 cup orange liqueur (triple sec, cointreau, grand marnier, or homemade)
6 or so sprigs fresh mint, torn into small pieces
Ice
Splash sprite or seltzer (optional)
Fruit for garnish (optional)
Cut fruit and put in a wide mouth jar or pitcher. Toss in mint. Pour in mango nectar, wine and liqueur. Stir. Pour in a glass over ice and add a splash of sprite or seltzer to taste. Garnish with fruit. Voila.
In the interest of full disclosure, I got my mango nectar when the first mango I tried to cut up ended up being too soft to cut, so I squeezed it into the pitcher instead. It turned out to be quite a bit of nectar. I'm sure store bought nectar would be just as good. Or, almost anyway. You could substitute the mango/mango nectar for peach and peach nectar... in fact, I substituted mango for peaches, since all the recipes I found online were for white sangria with peaches, and I didn't have any peaches.
I was a little worried that it would be too sweet, what with the sweet white wine, but perhaps because my liqueur was less sweet than store bought, it turned out fine. If it had been too sweet, I'd have added some lime juice to add a bite. But then, if I'd known where the limes were, I would have been drinking a margarita.
There's one more thing I'd like to share about this, the part that is actually the trickiest in making this drink.
How to cut a mango into cubes
Despite the terrible picture, I'm going to do my best to explain this.
Okay, take a ripe mango. First you have to understand the mango. The pit inside is large and almond shaped and flat, and you want to cut around the pit to get the largest portion of the flesh. To do this you cut the mango into three pieces. The center piece with the pit, and two side pieces that will be rather boat shaped and full of mango flesh.
Hold the mango with the stem end pointing up and look for the widest diameter of the mango. That is where the pit will be. Slice down from the stem end, starting a little bit in front of the stem. If you meet some resistance (the seed) angle your knife out a tiny bit to cut around it and then slice all the way through. Do this on both sides of the stem and you will have your two mango boats.
For each mango boat, slice a grid into the flesh, without cutting all the way through the skin. Take your grid marked boat and using your fingers, turn the boat inside out. The flesh will pop up in cubes, which you then can easily slice off of the skin and put into your sangria.
You are now left with the pit, which is ringed with mango flesh and skin. You could peel the skin and cute the flesh off the pit, chopping it up and putting it into you drink, but I always just peel the skin and the eat it all, right off the pit. Yum yum.
I am not sure if this explanation of mango cutting is clear enough, so if you need a visual tutorial, leave a comment and I will go back in and add pictures. I was taught by a Caribbean friend. Once you learn it, it makes mangoes much easier to eat and cook with. Well much less messy anyway.
I hope you take the opportunity this weekend to enjoy yourself and relax, try something tasty. Add a new flavor and see how it works for you.
Thursday, May 31, 2012
June Dots and Teapots
Tea Party
This is a project I am working on, a request for rosebud teacups.
I am learning a little bit about who I am as an artist and illustrator.
First of all, I like things loose and fast. And a little bit pretty, but with a rough edge. Kind of like a punk chick. I'm a little bit Debbie Harry.
How does this connect with making illustrations of rosebud teacups?
I guess that's why I was thinking about it. I think it's a good thing to try new things that you might not otherwise have tried. The truth is that the whole world does not see things the way I do, and that's fine, but sometimes if my view point and the world's viewpoint can coincide, perhaps we can learn something or develop a bit in ways that might not have happened before. Perhaps the collision of different mindsets can make something that is remarkable in some way, attractive in ways neither I nor the world might have thought of before.
Well, when thinking about teacups, I was wondering how I should make it happen, how to do it so that it still felt like ME, so that I could still draw on my strengths, so that it could still feel like me.
And that's why I went with a loose sketch and a fast watercolor, but with pretty colors and delicate curves.
Okay, so it's not really a punk teapot, but it is, after all a request, and I am doing it for someone else.
I also created my own pattern to go with this mismatched tea set. Yes, it's green and white polka dots, almost swiss dots, but I wanted the natural variation and imprecision that comes from off the cuff, eyeballing, not a ruler in sight painting. Okay, perhaps it's more whimsical than punk, but maybe it's just the intersection of the different urges in myself.
I really like these little polka dots. They are different shapes and shades and not really even at all. To me, they are like a June day in the sun, with the breeze blowing and the kids running around in the lawn and the bugs crawling around, and a paintbrush in my hand and a drink in my other hand while sitting on the porch.
Okay, so my day isn't punk either. Apparently watercolor tea parties in pink and green are just simply not punk. And it's probably true that I am not Debbie Harry. Probably.
But that's okay, because I'm Rowena. And that's good enough. Dots, teapots and all.
This is a project I am working on, a request for rosebud teacups.
I am learning a little bit about who I am as an artist and illustrator.
First of all, I like things loose and fast. And a little bit pretty, but with a rough edge. Kind of like a punk chick. I'm a little bit Debbie Harry.
How does this connect with making illustrations of rosebud teacups?
I guess that's why I was thinking about it. I think it's a good thing to try new things that you might not otherwise have tried. The truth is that the whole world does not see things the way I do, and that's fine, but sometimes if my view point and the world's viewpoint can coincide, perhaps we can learn something or develop a bit in ways that might not have happened before. Perhaps the collision of different mindsets can make something that is remarkable in some way, attractive in ways neither I nor the world might have thought of before.
Well, when thinking about teacups, I was wondering how I should make it happen, how to do it so that it still felt like ME, so that I could still draw on my strengths, so that it could still feel like me.
And that's why I went with a loose sketch and a fast watercolor, but with pretty colors and delicate curves.
Okay, so it's not really a punk teapot, but it is, after all a request, and I am doing it for someone else.
June Dots
I really like these little polka dots. They are different shapes and shades and not really even at all. To me, they are like a June day in the sun, with the breeze blowing and the kids running around in the lawn and the bugs crawling around, and a paintbrush in my hand and a drink in my other hand while sitting on the porch.
Okay, so my day isn't punk either. Apparently watercolor tea parties in pink and green are just simply not punk. And it's probably true that I am not Debbie Harry. Probably.
But that's okay, because I'm Rowena. And that's good enough. Dots, teapots and all.
Labels:
art,
color,
creativity,
development,
drawing,
illustration,
living,
mindset,
mommy time,
painting,
realize,
rockstar,
stationery
Wednesday, May 30, 2012
Doodles on Brown Paper, The Value of Not Knowing
Yesterday, I got a new white pen. I used to draw with white pens all the time, but for a number of years, I didn't. Then I wanted to but couldn't find the right kind of pen. I am picky about my stationery supplies.
So when I put the kids down for the night and got ready to relax, I really wanted to try out my new pens.
However, I didn't know what I wanted to do. I had no idea what I wanted to make. To make matters worse, I had no idea what I should draw on, because, being a white pen, white paper doesn't work.
Then I remembered all the paper bags I'd gotten from the store that day. Ah ha! I said to myself. I love kraft paper, I love white pens. I bet the kraft paper will work with the white pens, and even if it doesn't, no big loss, since it's just paper bags.
So I grabbed myself a pair of scissors and a paper bag and chopped it up into little note-cardy type pieces. Little enough to draw on without feeling like I needed to have a plan.
Yes, it worked. Yes, I gave it a try even though I wasn't sure. Yes I went through almost all of my little scrap papers, trying out the pens and letting myself mess up and figuring out what I wanted to say. Look, I even cut it out with my pinking shears and now how cool does it look?
I always forget to believe. When I sit down with no ideas, with a blank page, with a big project ahead of me that I don't know how to tackle, I forget that this is part of the process and not knowing is important. I forget that it doesn't have to be perfect, in fact, imperfection is often more interesting than something that has been worked into its flawless state.
I like things a little rough edged. I like the sketch to show. I like the asymmetrical and the wonky. I like to see the touch of the hand and the mistakes we make because we are trying things out and discovering where to go.
This post here is just doodles, really. Practice sketches, a try out. The little papers are wrinkled brown paper bags and my lettering is crooked.
But I believe in it anyway.
Looky here.
I didn't have idea one of what I was doing when I first started doodling and sketching on recycled paper.
But there is something lovely here. There is something to be learned.
I don't know the answers. And that's fine. I can get far by just believing that I am enough, that my thoughts are enough, that even my mistakes and drafts have value.
That is a huge yes. Yes to me. Yes to you. Yes to life, in all its imperfect, messy process.
Tuesday, May 29, 2012
Trust Your Wisdom, Owl Paper Doll Greeting Card
Trust Your Wisdom, Woodland paper doll greeting card
Here is one more paper doll card.
I like him. We all know the owl is wise, that he sees and hears things in the dark that we do not. That he finds his prey and zeroes in on it in silence, with soft wings. But do we trust the owlness in ourselves?
Do we trust our own wisdom? Our own knowing in the dark? Our own ability to focus in on our goals and get things done?
I think we generally know more than we think we do, it's just that we don't trust our own knowing.
Practice listening to your instincts. Practice believing in our own wisdom. Practice listening in the dark to the hints that say you are on the right path.
These are the rest of my puppet animal cards. I call this the "Be Gentle" series. They're still in development. I should probably not post them before I have them completely developed, but oh well, I'm big on process here on this little blog.
I'm not sure if everyone realizes that the floral deer/owl/bunny are actually the back of the painted ones. This was my brainstorm. I was dissatisfied with the plain back and found a way to give it some character. I like this character, particularly with the graphics of the stamped background.
This Be Gentle series is something that I needed to hear for myself. Many of the pieces I make are made because I need to hear something, I need to pay attention to a little bit of wisdom, either something I've found out there in the real world, or something I know inside of myself, but have not really gotten around to paying attention to.
Making these cards is a way that I trust my own wisdom. And posting them for you, believing that other people need to hear the same thing I do. It's a big leap, I know, to think that everyone is in the same place that I am, but I'd rather put it out there for the people who need it and will resonate with it, than keep it to myself out of fear and self doubt.
Who Who Who
do you trust?
Trust yourself.
Here is one more paper doll card.
I like him. We all know the owl is wise, that he sees and hears things in the dark that we do not. That he finds his prey and zeroes in on it in silence, with soft wings. But do we trust the owlness in ourselves?
Do we trust our own wisdom? Our own knowing in the dark? Our own ability to focus in on our goals and get things done?
I think we generally know more than we think we do, it's just that we don't trust our own knowing.
Practice listening to your instincts. Practice believing in our own wisdom. Practice listening in the dark to the hints that say you are on the right path.
These are the rest of my puppet animal cards. I call this the "Be Gentle" series. They're still in development. I should probably not post them before I have them completely developed, but oh well, I'm big on process here on this little blog.
I'm not sure if everyone realizes that the floral deer/owl/bunny are actually the back of the painted ones. This was my brainstorm. I was dissatisfied with the plain back and found a way to give it some character. I like this character, particularly with the graphics of the stamped background.
This Be Gentle series is something that I needed to hear for myself. Many of the pieces I make are made because I need to hear something, I need to pay attention to a little bit of wisdom, either something I've found out there in the real world, or something I know inside of myself, but have not really gotten around to paying attention to.
Making these cards is a way that I trust my own wisdom. And posting them for you, believing that other people need to hear the same thing I do. It's a big leap, I know, to think that everyone is in the same place that I am, but I'd rather put it out there for the people who need it and will resonate with it, than keep it to myself out of fear and self doubt.
Who Who Who
do you trust?
Trust yourself.
Monday, May 28, 2012
Handmade Stamp and Bookmark out of Scraps
I made my own shop stamp! It was a total whim I had one night. I wanted a shop stamp and I wanted it right then. I wasn't sure it was possible. I wasn't sure if I could carve something small like letters, wasn't sure if it would be possible with the medium, and wasn't sure if my stamp carving skills were up to par.
I also wasn't sure if I could put the whole name on a stamp the way I wanted, so it would fit the way I hoped. I did a lot of sketching to try and figure out a composition, but it all kept getting too fussy, so in the end, I just went with a simple, flat ribbon shape.
In then end, I kind of like how it turned out. I like the handmade quality of it. It looks like my hand writing, which it actually is. I wrote it out on the stamp block and then I carved it. There are a few little blips in the carving, but I like it. I make things by hand and you can see the touch of my hand. That's what I do. I draw them. I paint them. I carve them. I sew them. I model them. I guess I should be keeping up with technology, but I like being able to figure out how to finagle stuff with my own two hands. It gives me pleasure.When I tried out the shop stamp on some scrap paper from another project, I realized it was awful cute.
This is the back of the scrap. It was so cute, I decided to cut it out of the scrap and turn it into a little bookmark. I always need bookmarks because I'm always putting them down and misplacing them, or sticking them in a book and picking up a new book. I used some left over greeny gold ribbon, cut some mirroring points in the end, and threaded it through the hole.
I like when a whim turns into something fun and practical. Just like my candied orange peels.
I guess the lesson here is to take chances. Try new things, even if you aren't sure that they will work out. Look around for good things wherever they can be found. Learn to embrace the imperfections. Look for the lovely possibilities in the bits you might otherwise discard.
Hey! Not only does that go for creativity, but it also goes for living.
Labels:
crafts,
creativity,
DIY,
living,
MomCreates,
stationery
Friday, May 25, 2012
How To Make Your Own Orange Liqueur, and Bonus Candied Orange Peels
Orange Liqueur In Progress
One of the things about being a mom and being an artist and being a partner and being a worker and all these other hats I have to wear in this modern gotta-get-it-done world is that I don't necessarily take time to take care of myself.
I do a lot of sacrificing. I do a lot of taking care of others. I do a lot of anxious, running to catch up. I do a lot of crashing, exhausted, feet up at night.
One of the things I'm trying to do is to remember to do things for myself. Things that are not just about crashing and watching tv anyway. Rather things I just do for fun, things that renew me, things that I'm not trying to find a way to turn into a business. Things that are not about money or responsibilities or work. I started reading The Giver, by Lois Lowry. That's one of those books I've heard about for years, and I'm finally getting around to it.
And I'm getting back into my margarita habit. For some reason, margaritas and summer just seem go together.
And to feed my margarita treat, I am making my own orange liqueur.
I was inspired by this recipe from pinterest, but of course, I had to put my own spin on it. It's very simple. It has only four ingredients. Vodka. Oranges. Water. Sugar. But it does take some time and patience in order for the oranges to infuse the vodka, and it is a two part recipe, first the orange vodka, then the orange simple syrup. I am not all that patient, so, that accounts for my small adjustments to the original recipe.
Orange Vodka
One bottle of vodka. I just used a fifth of cheap vodka. Since it is my first attempt at this, I didn't want to make too much or spend too much.
Organic sweet oranges. Organic because you're using the peels in this so you don't want them to have anything unsavory on them. I used navel oranges.
Clean and dry a good sized jar.
Slice oranges into fairly thick slices.
Pour vodka into jar.
Add as many orange slices as will fit and still be covered by vodka. Pack them in there. I used two very large oranges and there was no room left. If you have more vodka or smaller oranges it will take more.
Cover and let sit in a cool dark place for 2 to 3 weeks.
Strain through cheesecloth or mesh sieve into a bottle. Squeeze the remaining pulp/oranges to remove all the juice/vodka, add to bottle. (I used the sieve, but I think the cheesecloth is better, because you can just wrap up all the pulp and squeeze that out without the mess. I had to squeeze mine handful by handful. Messy.)
The original recipe said to let this sit for another 3 weeks. Like I said. Impatient. So on to the next step.
Simple Orange Syrup
One cup sugar
One cup water
The rind of one orange. Try to remove as much pith as you can and just use the orange part.
Peel the orange, trying to remove only the orange zest, without the white pith. I did not zest the orange, because I wanted to remove the peels later. Cult the peels into fairly large pieces. Put in a saucepan. Add one cup water and one cup sugar. Boil the water, sugar and orange peels until the sugar is dissolved, stirring occasionally. Continue to simmer for a few minutes to infuse the orange into the sugar syrup. Let cool. Remove orange peels.
The original recipe just used plain simple syrup, but I saw an opportunity for another layer of orange flavor, and I took it.
Add orange syrup to the jar with the vodka. I had about 31/2 cups of orange vodka and started with 1/2 cup of syrup, tasting as I went until I liked it. All together, I added about a cup of orange syrup. It has a little bit of a floral flavor to it, not nearly as sweet as most orange liqueurs and a slight bite of bitterness from the peels. I am still considering adding more syrup, because I want my margaritas to have a bit of sweetness, but not too much. Oh these are the things that you really need to work through with trial and error. Perhaps I'll err on the side of another 1/4 cup of syrup, since I have no idea what I'll do with that last little bit of syrup.
The original recipe says it will get sweeter as it ages...
Stop the presses.
I just went to add the last little bit of syrup, and realized I had these lovely syrup soaked peels. So I...
ROLLED THEM IN SUGAR!!!!
HOLY COW. Candied orange peels. It's a quadruple bonus recipe day. Orange vodka, orange liqueur, orange simple syrup and candied orange peels. They're super yummy, too.
Plus, since I took the time out to make the candied orange peels, and S was putting some meat in a marinade and had sliced open a lime for it, I said, 'hey give me that other half of the lime, I should try a margarita with my new orange liqueur.' So that's what I did.
Uhm. Ohmagah!
WOW.
This margarita is absolutely fantastic. Note the pleased, slightly smug look on my face from a new recipe that not only works, but improves an old recipe and is a new skill never attempted. Plus, I'm also supremely tickled about the candied orange peel brainstorm.
Plus, I haven't had lunch yet and it is mighty early for a margarita and even though I only sipped it for a taste test, I might just be a little tipsy.
Anyway, happy Friday, happy Memorial Day, and remember to do something for yourself, something that makes you feel good, not just for the moment, but about yourself.
Labels:
cool,
DIY,
food,
hints,
how-to,
living,
mommy time,
pinterest,
the happies
Thursday, May 24, 2012
Say Yes To Life, woodland animal paper doll greeting card
Say Yes To Life, woodland animal articulated paper doll greeting card
Here is my bunny. Well, here is the bunny I made for my Bunny. My daughter thinks her real name is Bunny and insists we all call her Ivy Bunny. I made the bunny paper doll particularly for her.
But I like this bunny here, on this card, with the background of lush leaves.
A rabbit is a sign of Spring. It's a sign that there is abundance, a sign that things are growing, a sign that we should go ahead and let our hope out to romp around in lush gardens.
Don't hide from the joy and the opportunity, get out there and raid that lettuce patch of life. You belong in the abundance that is out there. You are made of yes. You are made of growth and fertility and creativity. Don't let the little fears keep you hidden in your burrow. A rabbit is small and gentle and vulnerable, but every moment they are alive, every step they take into the world is full of bravery and chance taking.
What are you hiding from out of fear? What could you say yes to that might change your life? What chances could you take that would open up possibilities for you? Where could you be brave. Practice saying yes everyday to something that scares you. You might be surprised at how your world can bloom.
Wednesday, May 23, 2012
Be Gentle To Yourself woodland animal greeting card
Be Gentle To Yourself Woodland Animal Greeting Card
I've shown my little deer before, but I wanted to do something with her. I wanted to also do something with some of the stamps I've been messing around with.
So this is what I came up with. I'm creating a set of "Gentle" greeting cards. They come from my woodland animal articulated paper dolls that I made as a favor for my daughter's fairy princess tea party fifth birthday party. To tell the truth, the paper dolls skewed a little too old for five year olds. But I really liked them anyway so I wanted to find something to do with them.
I think one of the ways to be gentle with yourself is to look for the good in things that maybe didn't work out quite the way you wanted them to. Don't toss the baby out with the bathwater, to put it in the vernacular.
It's very easy to only focus on the negative, and think that what you are doing is failure, or who you are is not good enough. But if you start saying, "okay, that didn't work so well, but let me look for the positives and see how I can use them the next time," then you shift your perception of your work, and yourself to something that is creative rather than destructive. And I have to say, this doesn't only go for creative projects and drafts of art work, but also for real life. I've seen this happen in work situations where people scrap projects because there were failures, without looking to see the benefits. I've seen women do this to themselves by only focusing on trying to change their physical flaws and devaluing their beauties. It happens in relationships where people focus on little things that bother them and don't give credit to the big good things that can fade into the background. I've seen it in pessimistic world views looking for how everything sucks, and missing how everything rocks. Oh yeah, and low self esteem and negative self talk. You don't suck. You rock.
So practice looking for the positives. Remember that having flaws does not mean you are bad. Remember to pamper yourself and take care of yourself when you're sick.
Here's a photo of my daughter, sitting on the porch wrapped up in her comforter, watching the fog and the traffic, taking it easy, cozying up. Not pushing. Just enjoying. I should try that. It would be a lesson in being gentle to myself and allowing myself to just be.
In the end, I want to have four of these gentle paper doll cards. And I'm thinking I'd like also four bold paper dolls... but I really haven't figured out how that will look yet. Luckily, I don't have to force it. I can be gentle for now. The time for boldness is coming soon. The gentleness prepares the way.
Remember to be gentle to yourself when you need it. Don't think you have to be bold all the time.
Tuesday, May 22, 2012
In Transition, Traveling, or The Creative Process
In Transition, Traveling
I have found that the process of creativity is a very fluid one. When you are creative, it feels unstoppable, as if it could go on forever and never end. This is just who you are. A creative machine.
But it is an illusion. Creativity ebbs and flows and it has its own journey that is not just about moving forward and being a genius. Creativity is a lot of silence. A lot of waiting. A lot of staring out of the window. A lot of quiet periods where things are growing, developing, and making their way into the light.
I think some people call these creative blocks, but I don't look at it like that. Calling it a block gives the blockage too much power. You focus only on what is not happening, and that is a sure bet that it won't. Instead, I look at these silent periods as fallow periods, part of the natural progression of the creative process.
To me, it is very natural, it is a kind of seasonal thing, although your fallow periods may not coincide with winter/spring/summer/fall. Mine kind of do. I think they are influenced by the mad crafting of the holiday season, the long days of summer, the get back to work time of the fall, and the... well... okay, spring is meant to be renewal and rebirth and all, but to me, so much of it is labor and letting the dark earth and cold rain do its job, while I wait for things to grow.
Hey, look. This is a picture of fields in spring. You notice that the grass is lush and green, but those fields are nowhere near harvest. They're barely even sprouting. I love when my photo/artwork sort of magically starts to fit with my ruminations of the day.
Well let me take my metaphor even farther. I don't feel very much like my fields of creativity are abundant right now. They're not, in fact. They're kind of just little germs of ideas, sprouts of inspiration. I want to be expressive and productive and bountiful in my creating, but right now, I'm just kind of picking at whatever is well formed enough to be something, even if it is not what I want.
But I am not doing nothing. I am thinking an awful lot about who I am, what I want, what I have done and learned and made in my whole life. I am tilling that soil. I am tending it. Fertilizing it with ideas that might work or things I want to try, even if they are not directly related to my long term goals. I am trying to get rid of the destructive or negative things in my life, purging things that are not useful, pulling weeds and clearing the space to allow things to grow. I am planting seeds, organizing those plans, starting work, trying different things, taking the first steps to make my creative goals come to fruition. (I just realized that you can really tell that I am the granddaughter of a farmer, even if I'm such a city girl, I learned a lot from him.)
This season in my creativity is a very frustrating one, knowing that I have to wait to get to the full fruited productivity I want. But at the same time, it feels good, itchy and antsy, but good, to know that the process has started over again, the first steps have been made, the journey has begun.
I think the most important thing about this stage of creativity, or about creativity in general, is to remember that you need to TRUST THE PROCESS. The silence is not wrong. It is a sign that something is growing underground and you need to sit back and let it. It is a sign that you need to prepare yourself for the hard work of tending and watering and harvesting. Don't resist the process, don't despair because you feel like you can't break through. Have faith that this is the way it works. Don't give up, keep working at it, keep looking for ideas, keep practicing new skills, keep organizing and planning, keep trying new things, keep being inspired by the world around you and the world inside of you. Keep showing up to the page. Trust and don't give up. This whole post is beginning to remind me of this one, from years back. But that doesn't surprise me, the lessons I need to learn keep popping up in my life.
What are some ways you've managed to break through those fallow periods and get back to creating?
I have found that the process of creativity is a very fluid one. When you are creative, it feels unstoppable, as if it could go on forever and never end. This is just who you are. A creative machine.
But it is an illusion. Creativity ebbs and flows and it has its own journey that is not just about moving forward and being a genius. Creativity is a lot of silence. A lot of waiting. A lot of staring out of the window. A lot of quiet periods where things are growing, developing, and making their way into the light.
I think some people call these creative blocks, but I don't look at it like that. Calling it a block gives the blockage too much power. You focus only on what is not happening, and that is a sure bet that it won't. Instead, I look at these silent periods as fallow periods, part of the natural progression of the creative process.
To me, it is very natural, it is a kind of seasonal thing, although your fallow periods may not coincide with winter/spring/summer/fall. Mine kind of do. I think they are influenced by the mad crafting of the holiday season, the long days of summer, the get back to work time of the fall, and the... well... okay, spring is meant to be renewal and rebirth and all, but to me, so much of it is labor and letting the dark earth and cold rain do its job, while I wait for things to grow.
Hey, look. This is a picture of fields in spring. You notice that the grass is lush and green, but those fields are nowhere near harvest. They're barely even sprouting. I love when my photo/artwork sort of magically starts to fit with my ruminations of the day.
Well let me take my metaphor even farther. I don't feel very much like my fields of creativity are abundant right now. They're not, in fact. They're kind of just little germs of ideas, sprouts of inspiration. I want to be expressive and productive and bountiful in my creating, but right now, I'm just kind of picking at whatever is well formed enough to be something, even if it is not what I want.
But I am not doing nothing. I am thinking an awful lot about who I am, what I want, what I have done and learned and made in my whole life. I am tilling that soil. I am tending it. Fertilizing it with ideas that might work or things I want to try, even if they are not directly related to my long term goals. I am trying to get rid of the destructive or negative things in my life, purging things that are not useful, pulling weeds and clearing the space to allow things to grow. I am planting seeds, organizing those plans, starting work, trying different things, taking the first steps to make my creative goals come to fruition. (I just realized that you can really tell that I am the granddaughter of a farmer, even if I'm such a city girl, I learned a lot from him.)
This season in my creativity is a very frustrating one, knowing that I have to wait to get to the full fruited productivity I want. But at the same time, it feels good, itchy and antsy, but good, to know that the process has started over again, the first steps have been made, the journey has begun.
I think the most important thing about this stage of creativity, or about creativity in general, is to remember that you need to TRUST THE PROCESS. The silence is not wrong. It is a sign that something is growing underground and you need to sit back and let it. It is a sign that you need to prepare yourself for the hard work of tending and watering and harvesting. Don't resist the process, don't despair because you feel like you can't break through. Have faith that this is the way it works. Don't give up, keep working at it, keep looking for ideas, keep practicing new skills, keep organizing and planning, keep trying new things, keep being inspired by the world around you and the world inside of you. Keep showing up to the page. Trust and don't give up. This whole post is beginning to remind me of this one, from years back. But that doesn't surprise me, the lessons I need to learn keep popping up in my life.
What are some ways you've managed to break through those fallow periods and get back to creating?
Subscribe to:
Posts (Atom)